A virtual home tour is a navigable reconstruction of a property made from 360° photographic panoramas, assembled room by room and connected by interactive waypoints. The buyer explores the property at their own pace, from a screen, and forms a perception of the volumes that simple photos do not convey.
Successfully conducting this tour requires less investment in expensive equipment than preparation of each room according to precise principles of framing, lighting, and visual flow.
Capture height and optical distortion: the adjustment that classic photos ignore
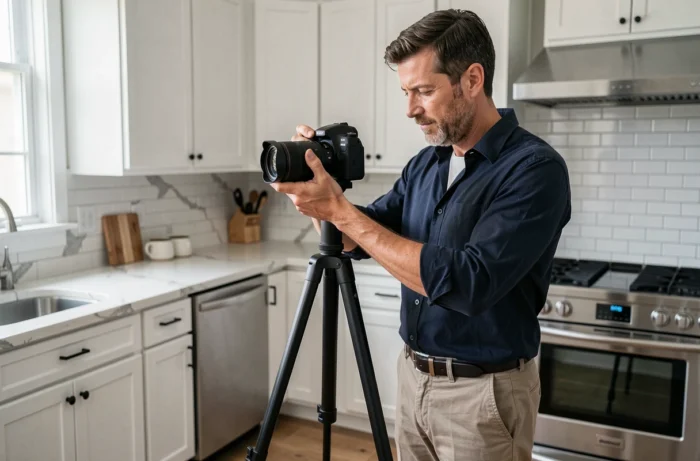
The first factor of quality in a virtual tour is the height of the capture point. A 360° panorama taken too high compresses the volumes on the ground, while a shot taken too low distorts the furniture and openings. The reference height is between 1.20 m and 1.50 m, which is approximately the eye level of an average-sized person sitting or standing.
This constraint exists because the wide-angle lens, necessary to cover 360°, amplifies any vertical positioning error. A deviation of a few centimeters is enough to give the impression that a ceiling is lower than it actually is, or that a hallway is narrowing. On an adjustable tripod, locking this height once and for all ensures consistency from one room to another.
The lamaison360 tips for home extension detail this logic of visual consistency applied to added or enlarged rooms, where optical distortion is even more noticeable due to atypical volumes.
Natural light and virtual tour: preparing the property before shooting
Light is the most underestimated lever for a successful virtual tour. A 360° panorama captures the entirety of the light environment, including backlighting, window reflections, and shadow areas. Unlike a cropped classic photo, there is no out-of-frame area to mask an imbalance.
Windows, shutters, and curtains: a protocol to follow room by room
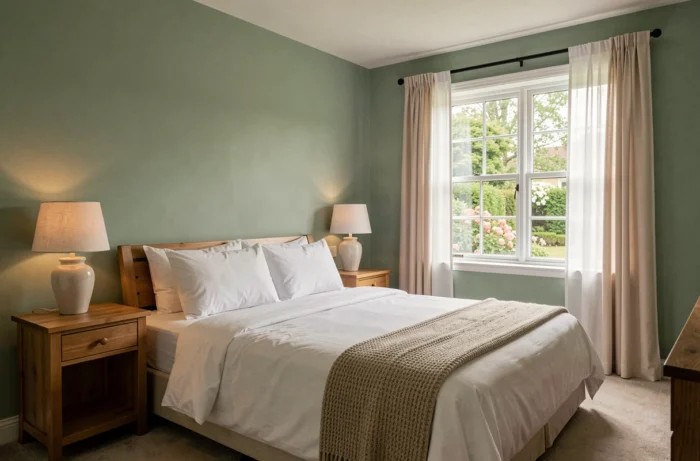
Opening all the shutters and raising the blinds is not enough. Each window must be evaluated according to its orientation. A south-facing bay window at midday creates a white halo that drowns out the details of the opposite wall. The solution is to diffuse this specific source (a light sheer, not an opaque blind) while keeping other openings clear.
The goal is to achieve uniform lighting in each panorama, without saturated bright spots or dark corners. Blind rooms (interior bathrooms, storage rooms) require neutral white artificial lighting, around 4,000 K, to avoid a yellow tint that distorts the perception of materials.
The right time slot according to the property’s orientation
- East-facing facade: prefer late morning, when direct sunlight has left the front rooms but still sufficiently illuminates the interior through diffusion.
- West-facing facade: capture in early afternoon, before the low sun creates overly pronounced shadows on the floors.
- Double orientation or through rooms: midday offers the most balanced light, provided the strongest source is diffused.
Flow and waypoints: planning the route of the virtual tour
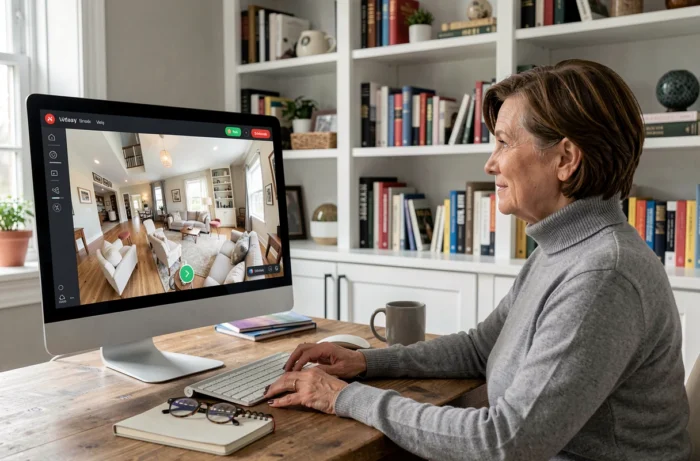
A virtual tour is not a collection of isolated panoramas. It is a journey. The buyer should be able to navigate from one room to another in an order that replicates the logic of a physical visit: entrance, living areas, bedrooms, exterior.
Each waypoint connects two adjacent panoramas and must be placed in the natural axis of movement (door, opening, hallway). Placing a hotspot in the middle of a solid wall disorients the user, who loses their sense of layout. On assembly tools (Kuula, Matterport in free version, or professional solutions), the position of the hotspot is adjusted to the degree on the source panorama.
For small rooms (shower room, toilets, laundry), a single panorama is sufficient. Multiplying captures in a confined space creates a repetition effect without providing additional information. In contrast, a large L-shaped room or an open living-kitchen area deserves two distinct capture points to convey the actual depth.
Targeted home staging for 360° capture: what changes compared to a photo
Classic home staging prepares a property for framed photos, where the photographer chooses a flattering angle. In 360°, every corner of the room is visible, which radically changes the preparation method.
What to remove before capture
Reflective objects pose a specific problem: a mirror facing the capture point shows the tripod and the camera. The simplest solution is to take down wall mirrors or tilt them slightly upwards. Turned-off television screens produce the same dark reflection effect.
Everyday items (laundry basket, loaded drying rack, visible cables) go unnoticed in daily life but catch the eye in a panorama where the user explores freely. Removing these items takes less time than retouching the result afterward.
What to add or reposition
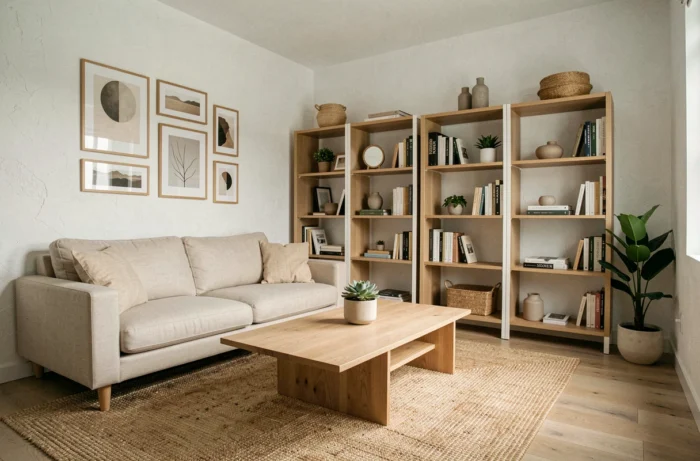
- One or two contrasting-colored cushions on a neutral sofa provide a focal point without overcrowding.
- A medium-sized green plant adds depth to the foreground, especially in blind spots that wide-angle distortion tends to flatten.
- Chairs around a table should be pushed in and aligned: in 360°, the slightest misalignment appears twice as pronounced as it does to the naked eye.
Personal data visible in a 360° panorama: a concrete regulatory constraint
A 360° panorama captures the entirety of the field of view, including elements that the owner may not have thought to hide: mail left on a piece of furniture with name and address, computer screen displaying data, identifiable family photos. In France, the GDPR applies as soon as personal data is collected, even inadvertently in an image intended for online dissemination.
Before each capture session, a systematic check to remove or turn any identifiable documents avoids a legal issue as well as discomfort for the buyer who might discover the seller’s identity. Recognizable faces (framed photos, magnetic portraits on a refrigerator) also fall within this scope.
The virtual home tour becomes more effective when the technical preparation (capture height, lighting, route) precedes the decorative staging. A well-exposed panorama in a simply tidied room produces a better result than a carefully staged home captured with unbalanced lighting or a poorly placed viewpoint. The last reflex to keep: view the complete tour on a phone before publication, because most buyers will discover it on this screen.